Mobile App Expense Approval
Approving expense claims via the mobile app.

Written by Grainne Reidy
Updated at October 29th, 2026
Introduction
The Mobile App can be used to approve expenses without logging into the system.
Prerequisites
To use the app, your company must:
- Have a valid AccountsIQ subscription.
- Contact support to request that the mobile app be switched on in your entity.
- Send the relevant approvers app invites. See Setting up Employee Expenses for more details. You can only access the app through this invite.
Android vs Apple
Note that the screenshots provided are from the Apple iOS version so may differ slightly if you are using an Android device.
See:
▶️ Invite employees to mobile app (21.6) - AIQ Academy
Getting Started
If you are an expense claims approver, you need to download and open the app from your email invite.
If you have any issues with the setup process, see Employee Expenses Troubleshooting.
- Open the app invite email from the device you will be approving from and click the Getting Started link. If you already downloaded the app and try to open it before clicking Getting Started, you will receive a message indicating that you need to open the email first.
- Follow the email's instructions to download and access the app by means of a secure link. There are separate versions of the app to support Android and Apple iPhone (iOS) devices, depending on what phone you access the invite email from. You will be asked to enable notifications for this app.
- You will now be automatically logged into the app. As the app information is remembered, you do not need a separate username and password to access it.
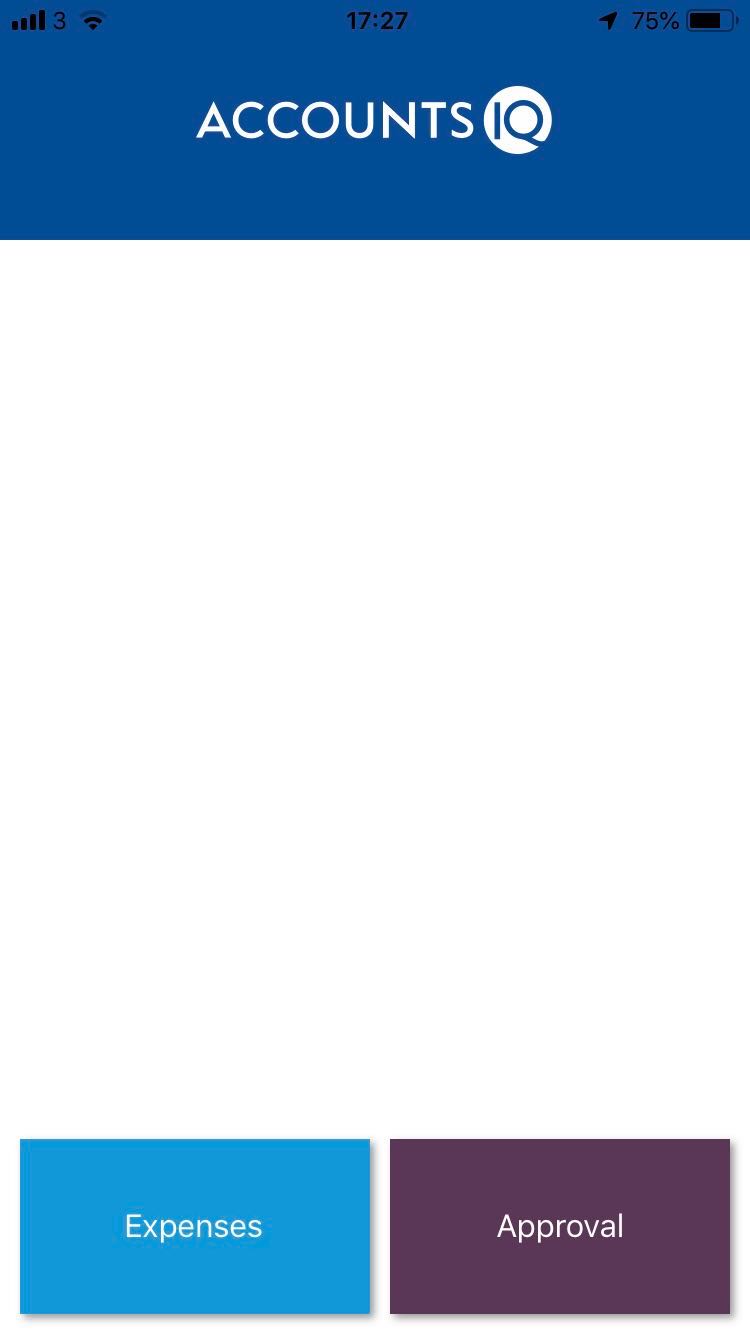
- Depending on the permissions you have been granted, you will see options for:
- Expenses: Approve or reject expense claims as described in this article. Expense claims are recorded as Purchase Invoices (or Credit Notes in the case of employee repayments). You can also record expenses and submit claims as described in Mobile App Expense Claims.
- Approval: Review purchase orders/invoices/credit notes for approval. See Mobile App Document Approval.
The main menu with Expenses and Approval options:
Reviewing Expense Claims
- In the Mobile App, tap Expenses to view expense claim tiles (Invoices and Credit Notes). The numbers in each of the expense claim tiles represent the number of unapproved expense claims now awaiting your attention. Alternatively, tap History to view historical expense claims for which you were assigned as an approver.
- Tap an expense claim tile to view a listing of the related expense claims now awaiting your review ordered by newest.
- Tap on an expense claim to view it.
Details
Tap Details at the bottom of the screen to view a summary of the expense claim. This includes the:
- Employee
- Reference
- Date
- Tax Amount
- Net Amount
- GL Account
- Any Dimension Tags

Documents
Tap Documents at the bottom of the screen to view the documents attached to the expense claim. These could be a rendered copy of the expense claim generated by the system or other attachments that were uploaded by the person who submitted the expense claim.
Tap on an attachment to to open the attachment.
Notes
Tap Notes at the bottom of the screen to view any notes that have been recorded against the expense claim during its passage through approval workflow. These notes could contain remarks made by users when recording the expense claim or remarks made by those approving or rejecting the expense claim. It will also show system generated notes made when the expense claim changes status during the approval workflow.
Approving or Rejecting Expense Claims
You will receive app notifications if there are any items requiring your attention. After reviewing the expense claim, tap Approve or Reject.
Approve
If you decide to approve the expense claim, you can optionally add a note before tapping Submit. Whether this also approves the expense claim as a whole depends on how the expenses workflow was configured. You will approve either your assigned budget lines (as a budget approver) or the total expense claim. If you approve by budget line, any other lines on the expense claim will also need to be approved by their budget approver. See Approval Workflow Setup for more details.
Note the following:
- Once a claim has been fully approved, it will be sent for payment.
- If the employee makes any changes post approval (but pre-payment), the status will change to Open (Approved). You will not see any updates until the employee re-submits the claim. The status of re-submitted expense claims will update to Pending Approval or Approved (if the changes the employee makes do not affect the value of the claim).

Reject
If you decide to reject the expense claim, then you will be required to enter an accompanying note explaining the decision and what course of action should follow next, before tapping Submit. Rejecting a step in a workflow will reject the expense claim as a whole. If you are a budget approver (approving based on your assigned budget lines), rejecting your line will reject the whole expense claim. See Approval Workflow Setup for more details.
These notes will be visible to the employee in their mobile app.
Note the following:
- The employee can edit all details, and expenses and attachments can be added and removed.
- The employee cannot re-submit for approval until they have amended the claim.
- You will not see any updates until they re-submit the claim.
