Introduction
All Workflow Approvers can use the Mobile App (iOS and Android) to approve (or reject) documents. The App has a searchable audit trail of all previous approval/rejection records.
The App allows Approvers to:
- Complete the full Approval process, including review of all notes, documents, and GL Budgets associated with the Orders and Invoices.
- Record their own notes as part of the approval/rejection process explaining their decision to the system finance users.
Access to this mobile app must be enabled as an add-on for your company, and your company must also have the Workflow Approval feature enabled. Contact your local Support Representative for further enquiries.
See:


Setting up Approvers to use the App
Info: Multiple Entities
If the approver will be approving on behalf of multiple entities, the invite process must be repeated for each entity. The approver will be linked to all entities via the mobile app.
First, ensure that all relevant approvers have been set up with Send Approval requests by mobile and Send Mobile Invite selected. See New Workflow Approval for more details.

If they missed their approval email, go to Setup > Approvers Listing and find the approver. Under More Actions, select Send Mobile Invite.

Next, in the email invite, the Approver needs to click Get Started. The app is now ready for use. In the Approves listing grid, the Mobile Status will turn to Active.
For any subsequent entities you receive invites for, click Getting Started in the email invite and any outstanding approval requests will be synced to the app.

Note that users of the new WFA, will not be able to approve Credit Notes using the app currently but this will be possible in the near future.

Approving Documents
- Click on the mobile notifications to go straight to the approval process.
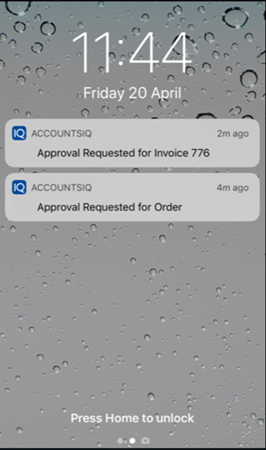
Alternatively, click Refresh in the app to display the documents needing approval.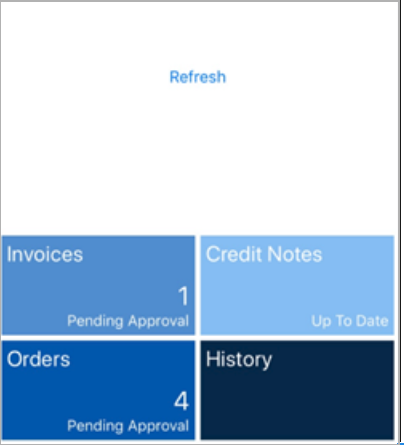
- Click Invoices or Orders as appropriate to view outstanding transactions.

If you are approving in multiple entities, all outstanding items will appear in company order.
- Select the relevant transaction.

If the Purchasing system was not set up to use Budgets, then this is what the mobile screen will present: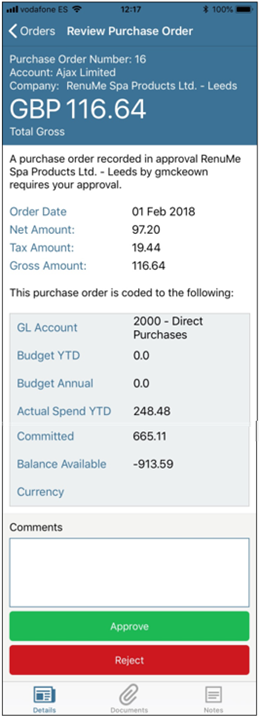
- Add comments and Approve or Reject the transaction. Comments are mandatory if rejecting the transaction. The transaction will disappear from the app.
View Details, Documents, and Notes
You can find the following icons at the bottom of the Approval/Rejection screen:
- Details
- Documents
- Notes

Details: This returns you to the Approval/ Rejection screen:

Documents: Click to view a PDF Report of the Order or Invoice:
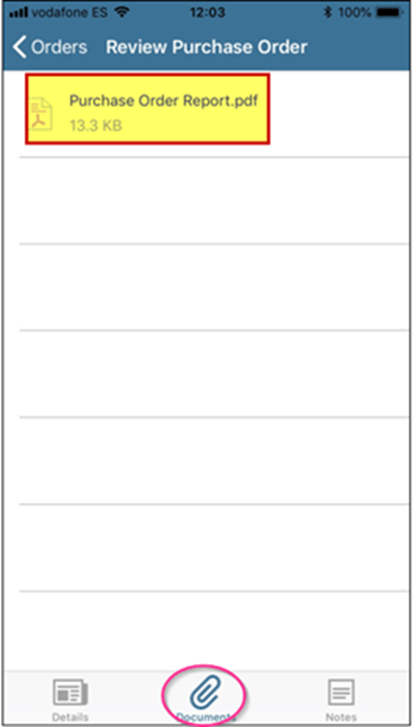
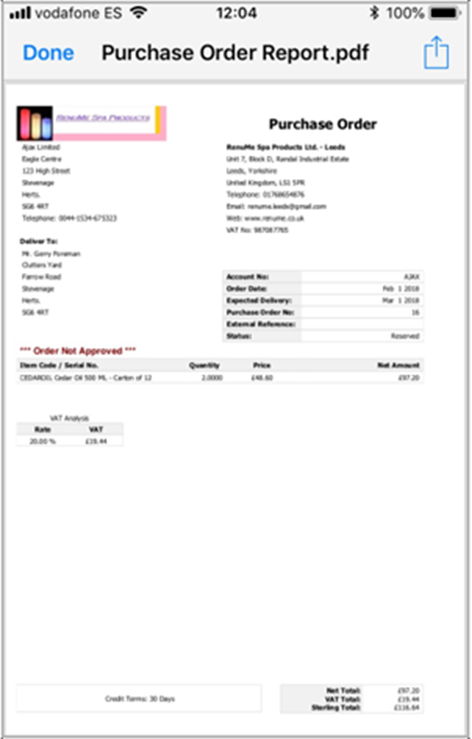
Notes: Click to access all notes which have previously added to the Order or Invoice.
History
- Select the History from the main screen to view a searchable list of all previous associated transactions.

- Select Invoices, Credit Notes, or Orders to view a list.

- Select an entry to view a copy of the transaction with its attached Documents and Notes.


